You are here: 10. Third Party Tools > 10.2. Paxar/Monarch Label Designer > 10.2.1. Creating Labels via Paxar/Monarch Label Designer

Paxar/Monarch Label Designer

Creating Labels via Paxar/Monarch Label Designer

To create labels:

  1. Ensure you have downloaded and installed the Monarch Label Designer software.
  1. Select START | ALL PROGRAMS | MONARCH SOFTWARE | LABEL DESIGNER.

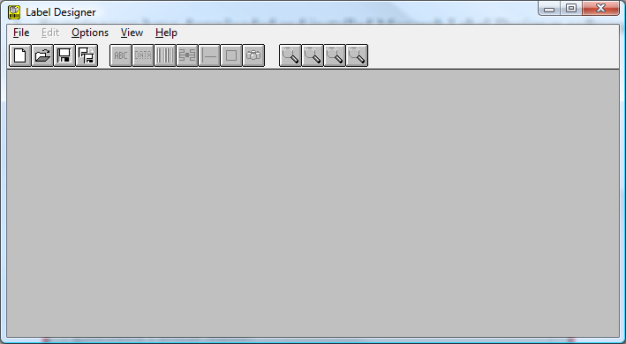
The Label Designer screen is displayed.

  1. Select FILE | NEW.

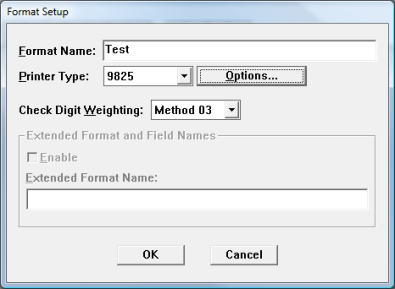
The Format Setup screen is displayed.

  1. Enter a Format Name.
  1. In the Printer Type field, select the printer model that you are using from the dropdown list.
  1. Select OK.

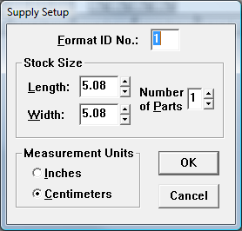
The Supply Setup screen is displayed.

  1. Enter a value for Length.
  1. Enter a value for Width.
  1. Select OK.

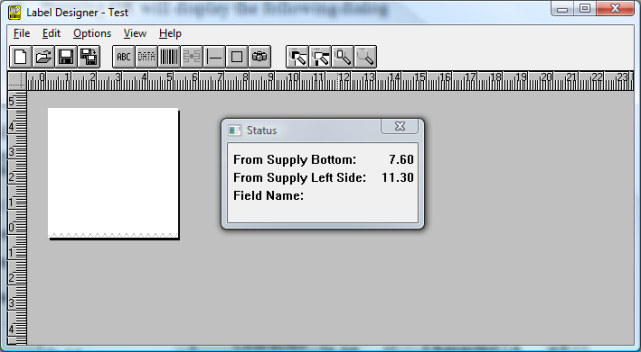
The Label Designer screen is redisplayed.

  1. Select EDIT | ADD | TEXT to add a text field to the label.

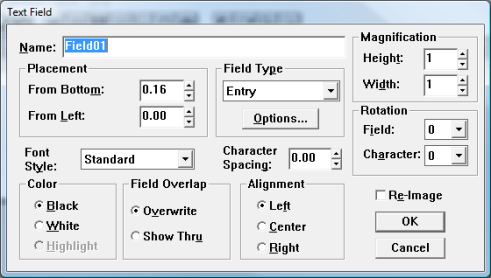
The Text Field screen is displayed.

  1. Complete this screen as follows:


Technical Tip

The size of the field is set under Options and must match the field size that will be set in the Report Generator.

  1. Select EDIT | ADD | BARCODE to add barcode fields to the label.

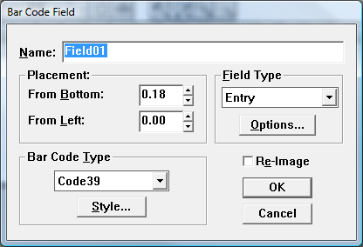
The Bar Code Field screen is displayed.

  1. Complete this screen as follows:
  1. Select EDIT | ADD | DATA to add data fields to the label.

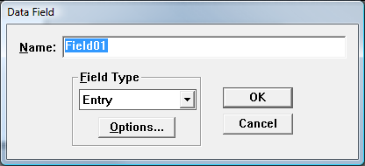
The Data Field screen is displayed.

  1. Complete this screen as follows:
  1. Select FILE | SAVE AS MPCL.

You will be prompted to save the file.